Recent articles
© Dial Solutions Ltd 2009 - 2024
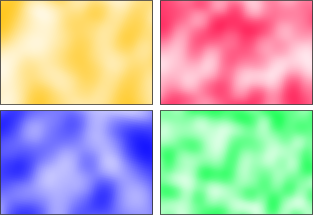
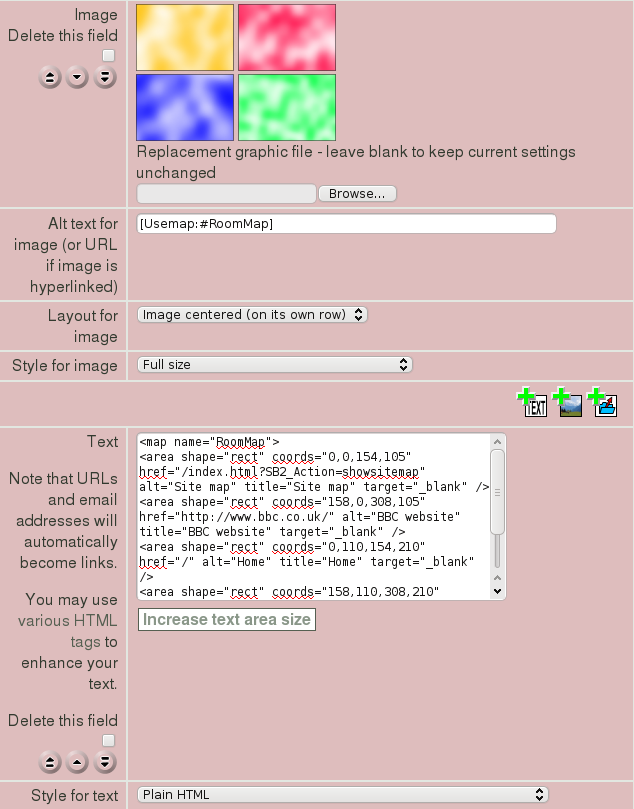
| Image MapsWebulator allows you to add image maps to allow users to click on different areas of an image in order to link to different places. The image map needs to be created in a seperate application. There are dozens of these to be found online, and this functionality is built into many graphical desktop applications. The image map specifies which areas of the image should link to which URL. Once you have created an image and imagemap, you need to upload the image to your website. In the 'Alt text' field for the image, you should insert [Usemap:#MapName] where MapName is the 'name' attribute of your image map. In a separate Text field, with the 'Style for text' dropdown set to 'Plain HTML' you should place your image map. Make sure that the 'name' attribute matches the name after the # in the [UseMap:] tag for your image.  In this example, our image Alt text is [Usemap:#RoomMap] and our image map is: <map name="RoomMap"> <area shape="rect" coords="0,0,154,105" href="/index.html?SB2_Action=showsitemap" alt="Site map" title="Site map" target="_blank" /> <area shape="rect" coords="158,0,308,105" href="http://www.bbc.co.uk/" alt="BBC website" title="BBC website" target="_blank" /> <area shape="rect" coords="0,110,154,210" href="/" alt="Home" title="Home" target="_blank" /> <area shape="rect" coords="158,110,308,210" href="/faqs/" alt="Frequently Asked Questions" title="Frequently Asked Questions" target="_blank" /> </map> The above imagemap would then be shown in the article editor as follows:  Image Maps Webulator allows you to add image maps to allow users to click on different areas of an image in order to link to different places. |


